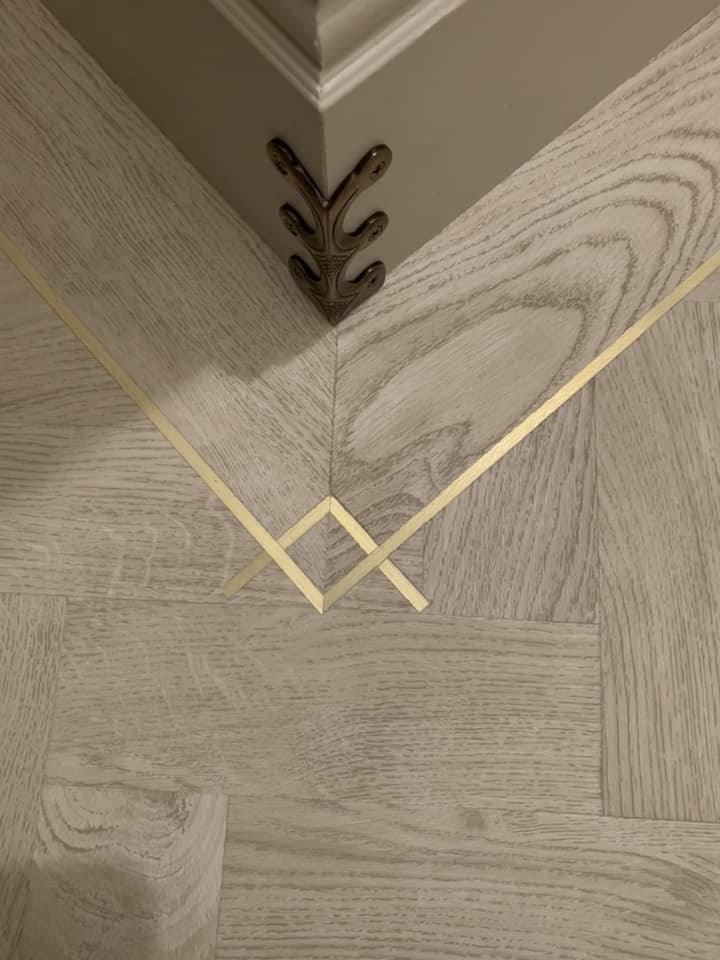
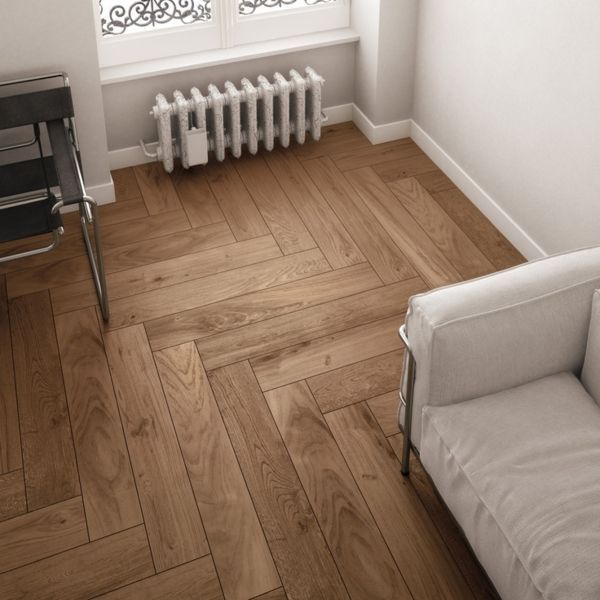
Vinyl floor tiles are a popular choice for homeowners looking to update their flooring with a durable, affordable, and easy-to-maintain option. Installing vinyl floor tiles is a relatively simple DIY project that can instantly transform the look of a room. Whether you’re a seasoned DIYer or a beginner looking to tackle your first flooring project, this guide will walk you through the steps of installing vinyl floor tiles in your home.
1. Gather Your Materials
Before you begin your project, make sure you have all the necessary materials on hand. You will need:
– Vinyl floor tiles – Vinyl tile adhesive – Notched trowel – Utility knife – Straight edge – Measuring tape – Chalk line – Roller – Floor primer (if required by the manufacturer)
2. Prepare Your Subfloor
Before you can start laying your vinyl floor tiles, you need to prepare your subfloor. Make sure it is clean, flat, and dry. If there are any bumps or imperfections, you may need to use a self-leveling compound to smooth out the surface. If your subfloor is made of wood, you may need to install a plywood underlayment to provide a smooth, stable surface for the tiles.
3. Measure and Mark Your Layout
Using a measuring tape and a chalk line, measure and mark the center of the room. This will be your starting point for laying the tiles. Use the chalk line to create a grid that will help guide you as you lay the tiles. Make sure to leave a small gap around the edges of the room to allow for expansion.
4. Apply Adhesive
Starting at the center of the room, spread a thin layer of vinyl tile adhesive on the subfloor using a notched trowel. Work in small sections to prevent the adhesive from drying before you can lay the tiles.
5. Lay the Tiles
Begin laying the vinyl floor tiles in the center of the room, working your way outwards in a grid pattern. Press each tile firmly into the adhesive, making sure they are flush with each other and aligned properly. Use a roller to ensure the tiles are securely bonded to the subfloor.
6. Cut Tiles to Fit
As you reach the edges of the room, you may need to cut tiles to fit. Use a utility knife and a straight edge to make precise cuts. Remember to leave a small gap around the edges for expansion.
7. Allow Adhesive to Dry
Once all the tiles are in place, allow the adhesive to dry according to the manufacturer’s instructions before walking on the floor or moving furniture back into the room.
8. Seal the Edges
To finish your vinyl floor tile installation, apply a bead of silicone sealant to the edges of the room to prevent moisture from seeping under the tiles.
With these steps, you can easily install vinyl floor tiles in your home and enjoy a beautiful, durable, and easy-to-maintain flooring option. Whether you’re updating a kitchen, bathroom, or any other room, vinyl floor tiles are a versatile choice that can enhance the look of your space. So roll up your sleeves, grab your tools, and get ready to transform your home with new vinyl floor tiles!
 goodworksfurniture Decoration and home design ideas


