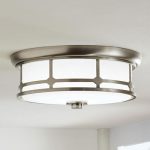
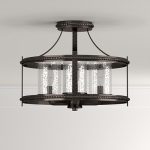
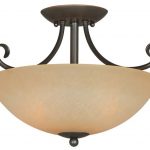
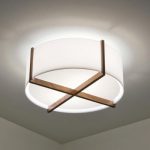
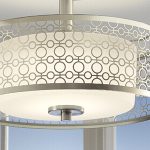
Installing a ceiling light fixture may seem like a daunting task, but with a bit of knowledge and the right tools, you can easily tackle this home improvement project. Whether you’re looking to replace an old fixture or add a new one to brighten up a room, here are five easy steps to help you install a ceiling light fixture:
Step 1: Turn Off the Power Safety should always be your top priority when working with electricity. Before you begin the installation process, make sure to turn off the power to the existing light fixture at the circuit breaker. It’s also a good idea to use a voltage tester to double-check that the power is truly off before proceeding.
Step 2: Remove the Old Fixture Once you’ve ensured that the power is off, it’s time to remove the old ceiling light fixture. Start by removing the light bulbs and any shades or covers. Then, loosen the screws or bolts that attach the fixture to the ceiling. Carefully disconnect the wires and set aside the old fixture.
Step 3: Install the Mounting Bracket Next, you’ll need to install the mounting bracket that will support your new ceiling light fixture. Follow the manufacturer’s instructions to secure the bracket to the ceiling junction box using the provided screws. Make sure the bracket is secure and level before moving on to the next step.
Step 4: Connect the Wires Now it’s time to connect the wires from the ceiling to the wires on the new light fixture. Match the black wire from the ceiling to the black wire on the fixture, and the white wire from the ceiling to the white wire on the fixture. Twist the wires together and secure them with wire nuts. If your light fixture has a ground wire, connect it to the green or bare copper wire in the ceiling junction box.
Step 5: Attach the Fixture Once the wires are connected, carefully tuck them into the junction box and align the holes on the fixture with the screws on the mounting bracket. Use the provided screws to secure the fixture to the bracket. Make sure the fixture is level before tightening the screws. Finally, add light bulbs and any shades or covers, and turn the power back on to test your new ceiling light fixture.
With these five easy steps, you can easily install a ceiling light fixture in your home. Just remember to take your time, follow the manufacturer’s instructions, and prioritize safety throughout the installation process. If you’re unsure about any step or encounter any difficulties, don’t hesitate to seek help from a professional electrician. Enjoy your newly brightened space!
 goodworksfurniture Decoration and home design ideas
