goodworksfurniture Decoration and home design ideas

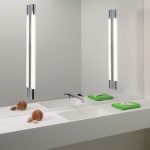
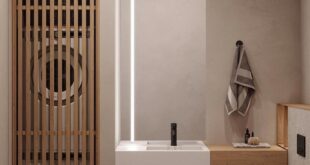
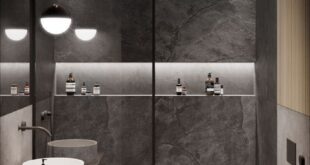
Bathroom lighting is a crucial aspect of any home. Not only does good lighting brighten up the space and make it more inviting, but it also serves a functional purpose by helping you see clearly while getting ready in the morning or winding down at night. One popular and effective option for bathroom lighting is a light bar. A light bar is a strip of multiple lights that can be mounted above or beside a bathroom mirror to provide even and bright illumination. If you’re considering installing a bathroom light bar in your home, here are some tips to do it like a pro.
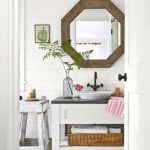
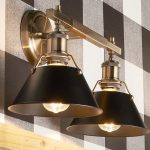
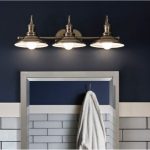
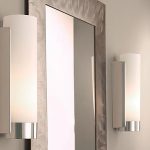
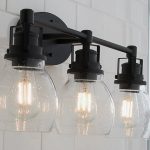
1. Choose the Right Size and Style: Before you start the installation process, make sure you have chosen the right size and style of light bar for your space. Consider the size of your bathroom mirror and vanity, as well as the overall decor of your bathroom. You want the light bar to complement the style of the room and provide adequate lighting without overpowering the space.
2. Measure and Mark: Once you have chosen the right light bar, it’s time to measure and mark where it will be installed. Use a measuring tape to determine the exact placement of the light bar above or beside the mirror. Mark the spots where the screws or mounting brackets will go to ensure that the light bar is level and centered.
3. Turn Off Power: Before you start installing the light bar, make sure to turn off the power to the bathroom. This will prevent any accidents or electrical shocks while working with the wiring.
4. Secure Mounting Brackets: Depending on the type of light bar you have chosen, you may need to secure mounting brackets to the wall first. Use a level to ensure that the brackets are straight and even before attaching the light bar.
5. Connect Wiring: If your light bar requires wiring, carefully follow the manufacturer’s instructions to connect the wires safely and securely. Make sure all connections are tight and secure before proceeding.
6. Attach Light Bar: Once the mounting brackets are secured and the wiring is connected, carefully attach the light bar to the brackets. Make sure it is level and centered before tightening the screws.
7. Test the Lights: Before finishing the installation, turn on the power to test the lights. Make sure all the bulbs are working and that the light is bright and even. Adjust as necessary before securing the light bar in place.
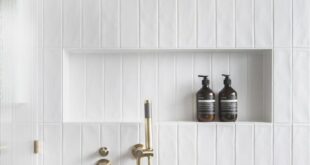
8. Add the Finishing Touches: Once the light bar is securely installed and working properly, add any finishing touches such as decorative covers or trim to complete the look.
Installing a bathroom light bar can be a simple and effective way to improve the lighting in your bathroom. By following these tips and taking the time to carefully measure, mark, and install the light bar, you can achieve professional-looking results that will enhance the overall look and feel of your bathroom.