Step-by-step guide to repainting your living room in a bold, modern color.
Transform Your Space: A Step-by-Step Guide to Repainting Your Living Room in Bold, Modern Colors
are you ready to breathe new life into your living room? A fresh coat of paint can work wonders, turning a dull space into a vibrant haven that reflects your personality and contemporary style. Choosing a bold colour may seem daunting, but with the right approach, it can be an exhilarating journey that unlocks the full potential of your home. In this guide, we’ll walk you through the essential steps to confidently select, prepare, and apply a daring hue to your living room, ensuring your transformation is as smooth as it is inspiring. Whether you’re seeking a striking accent wall or an all-over pop of color, you’ll find practical tips and creative insights to help you reimagine your space with flair and finesse. Let’s get started on this colorful adventure!
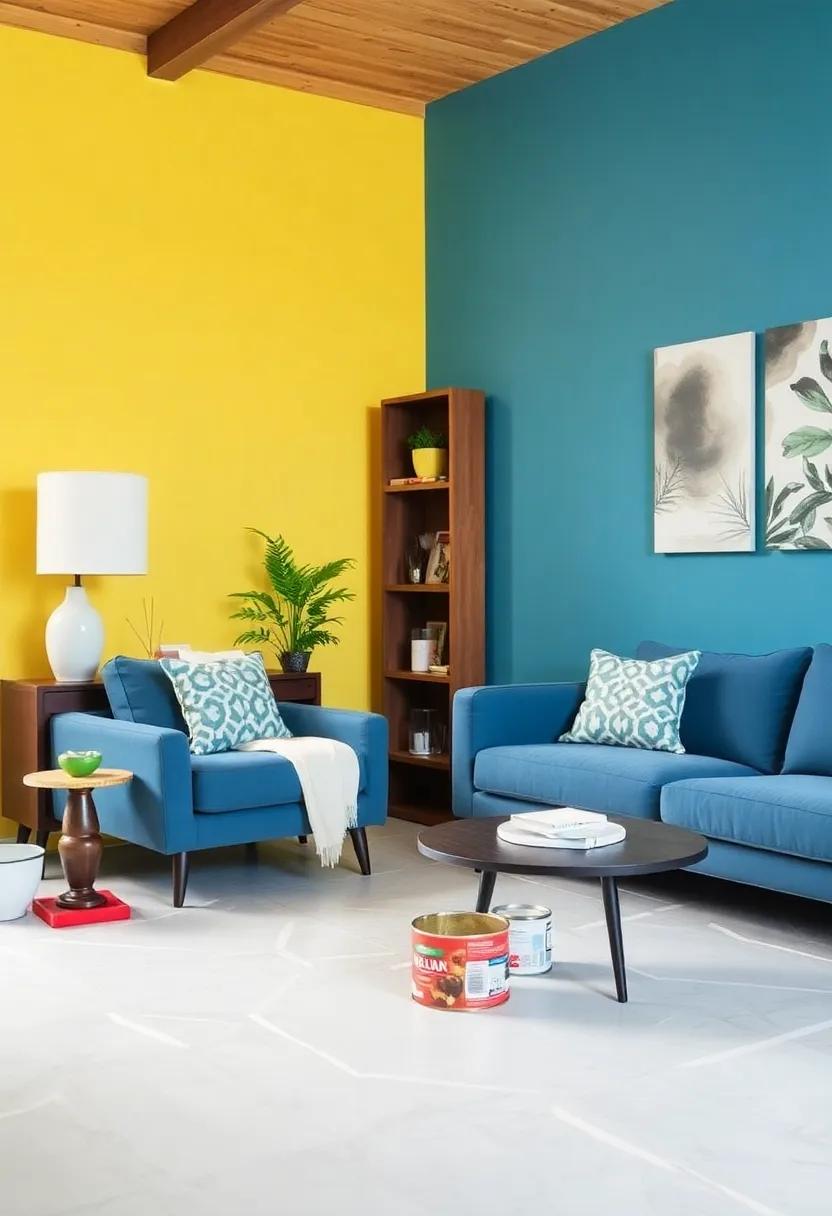
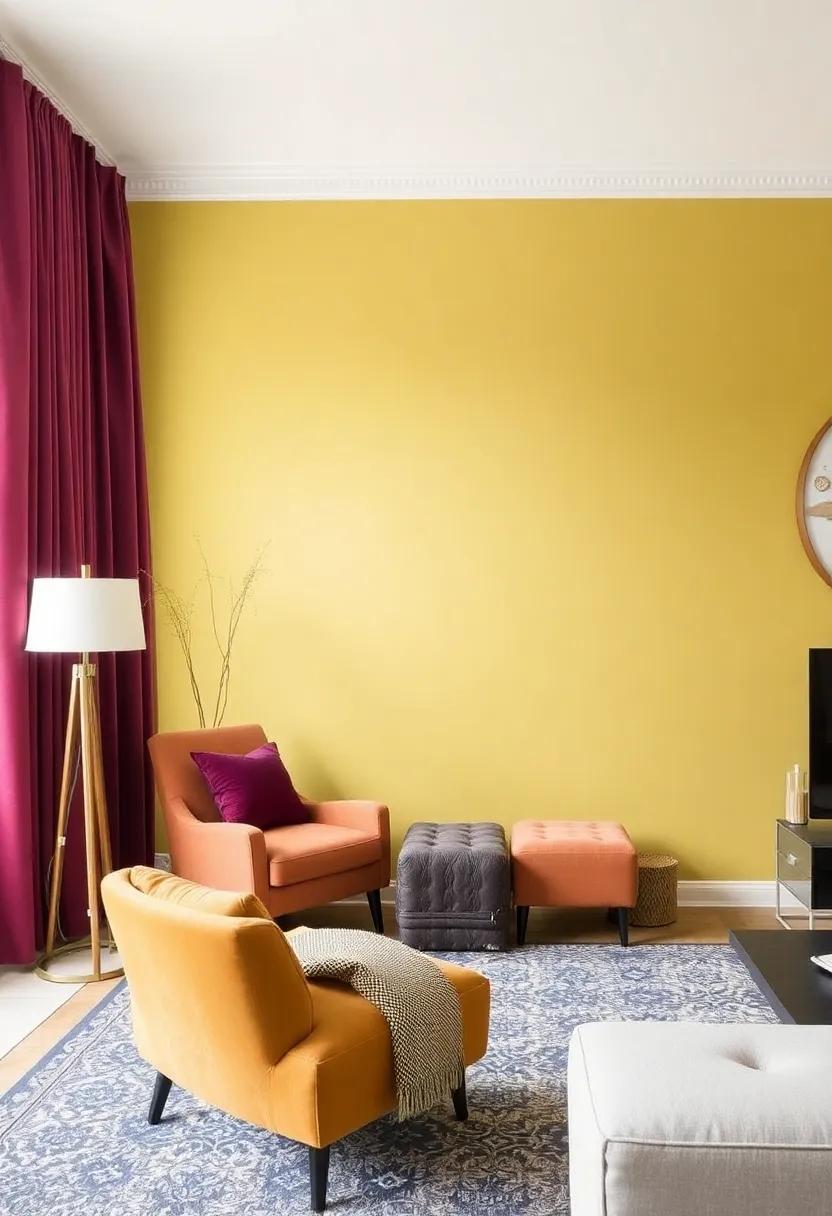
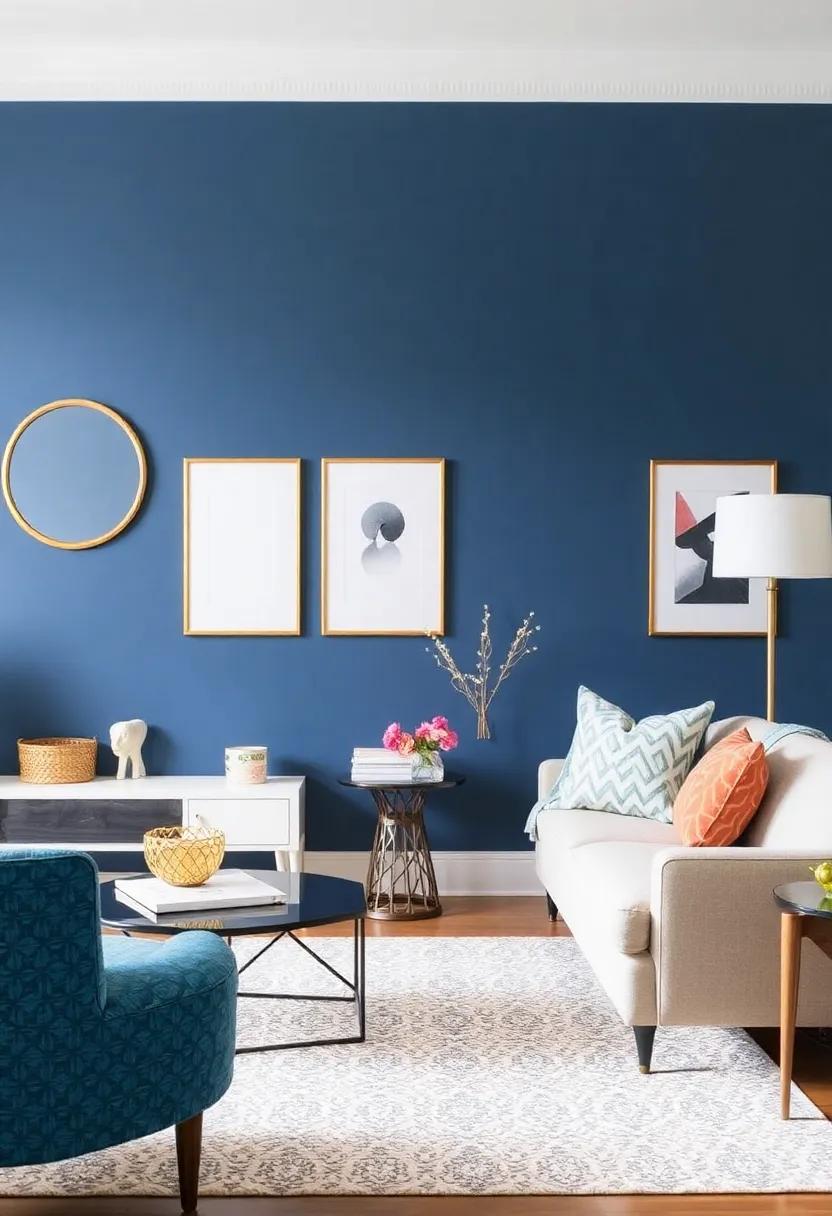
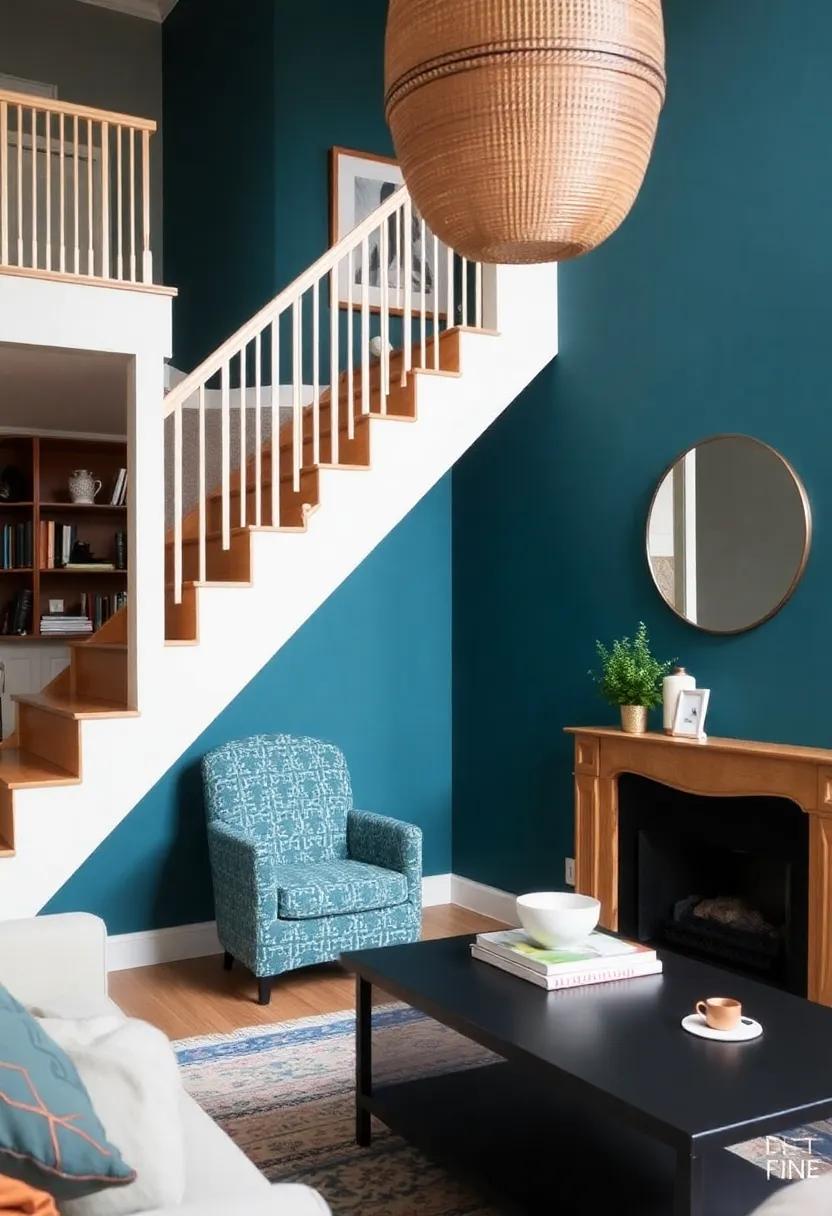
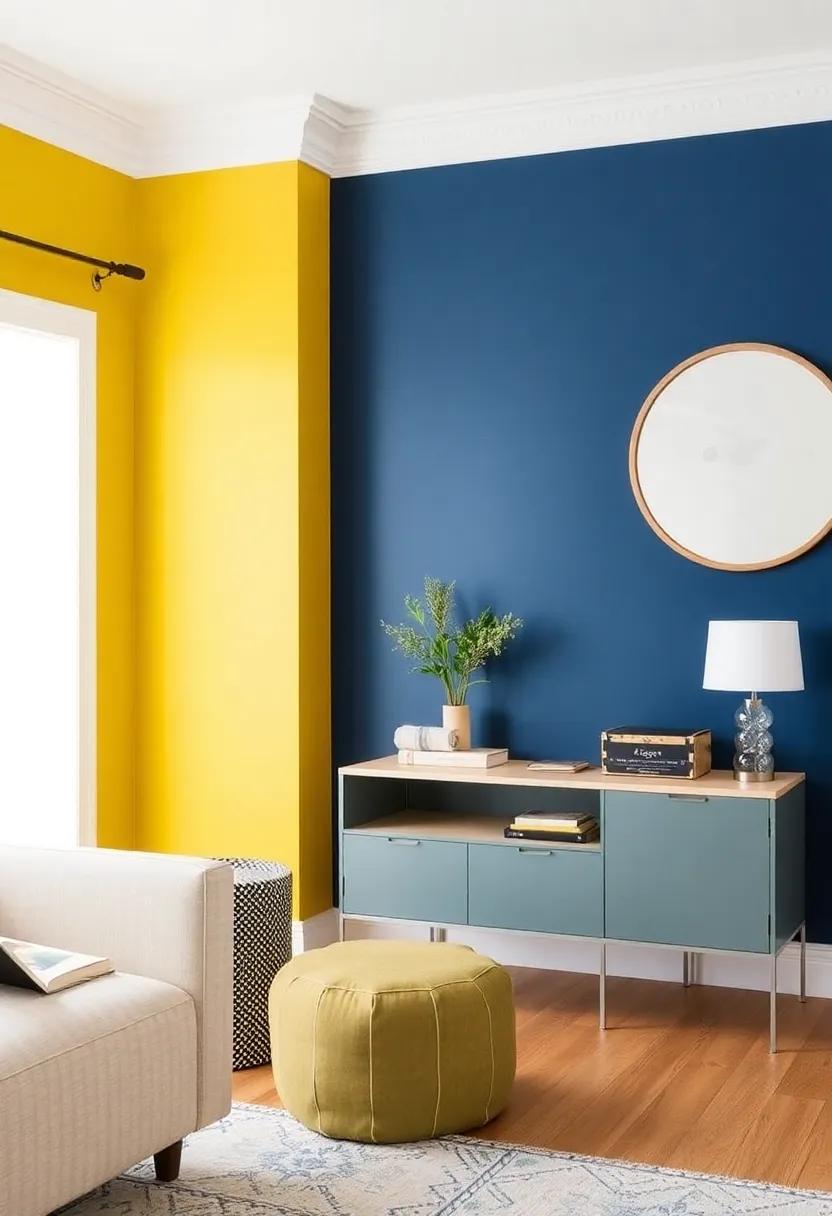
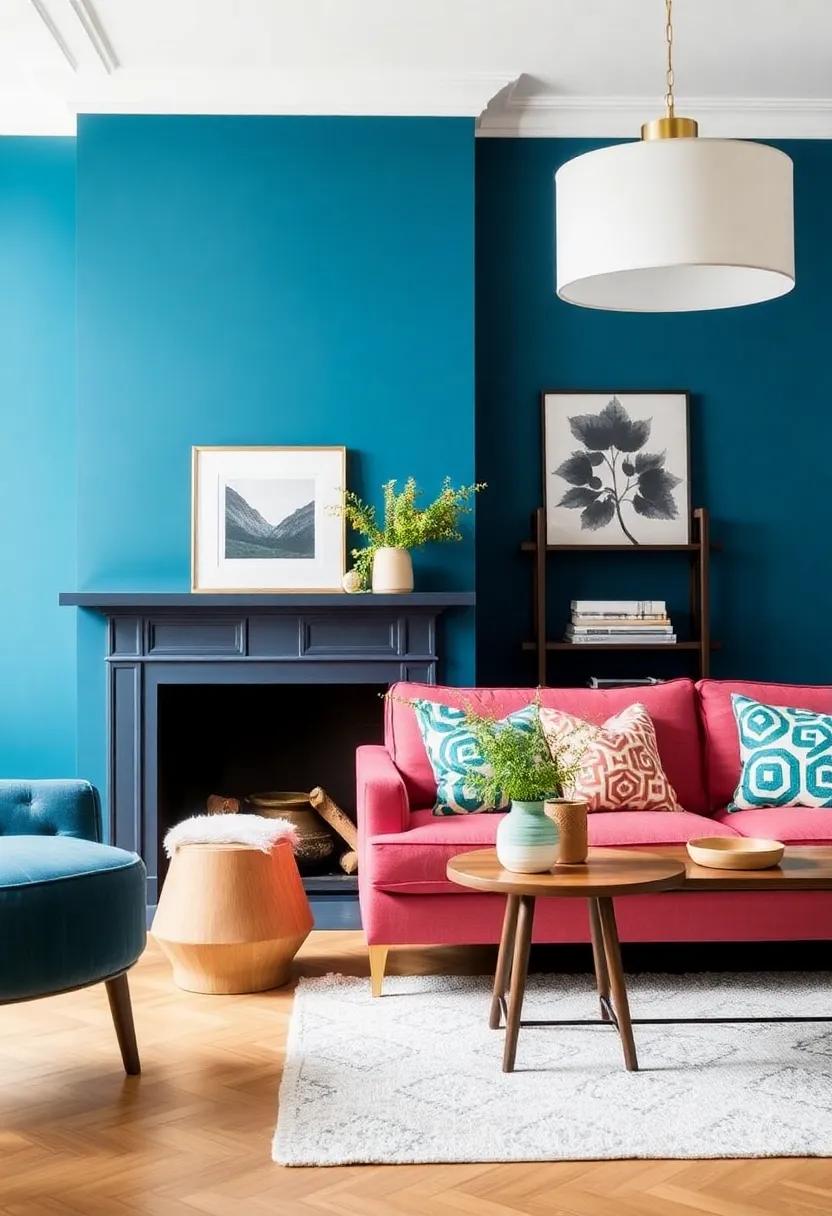
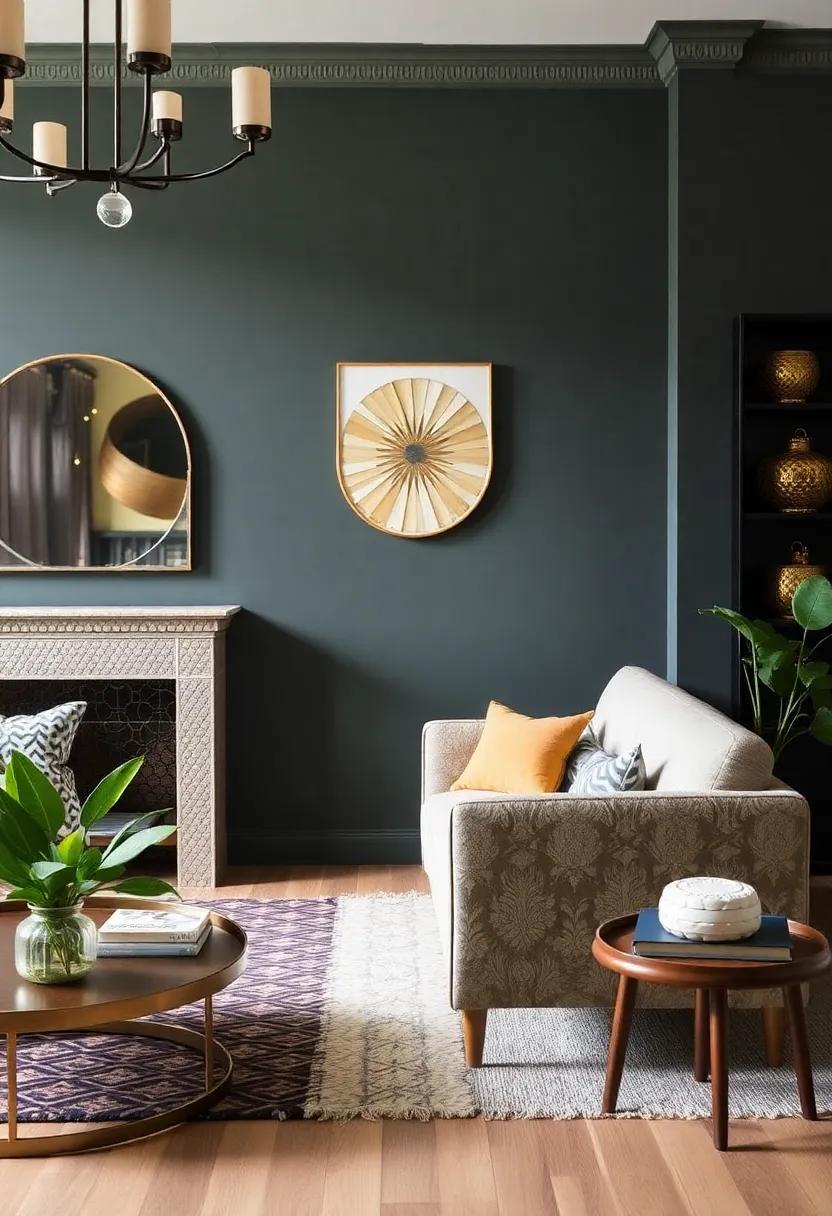
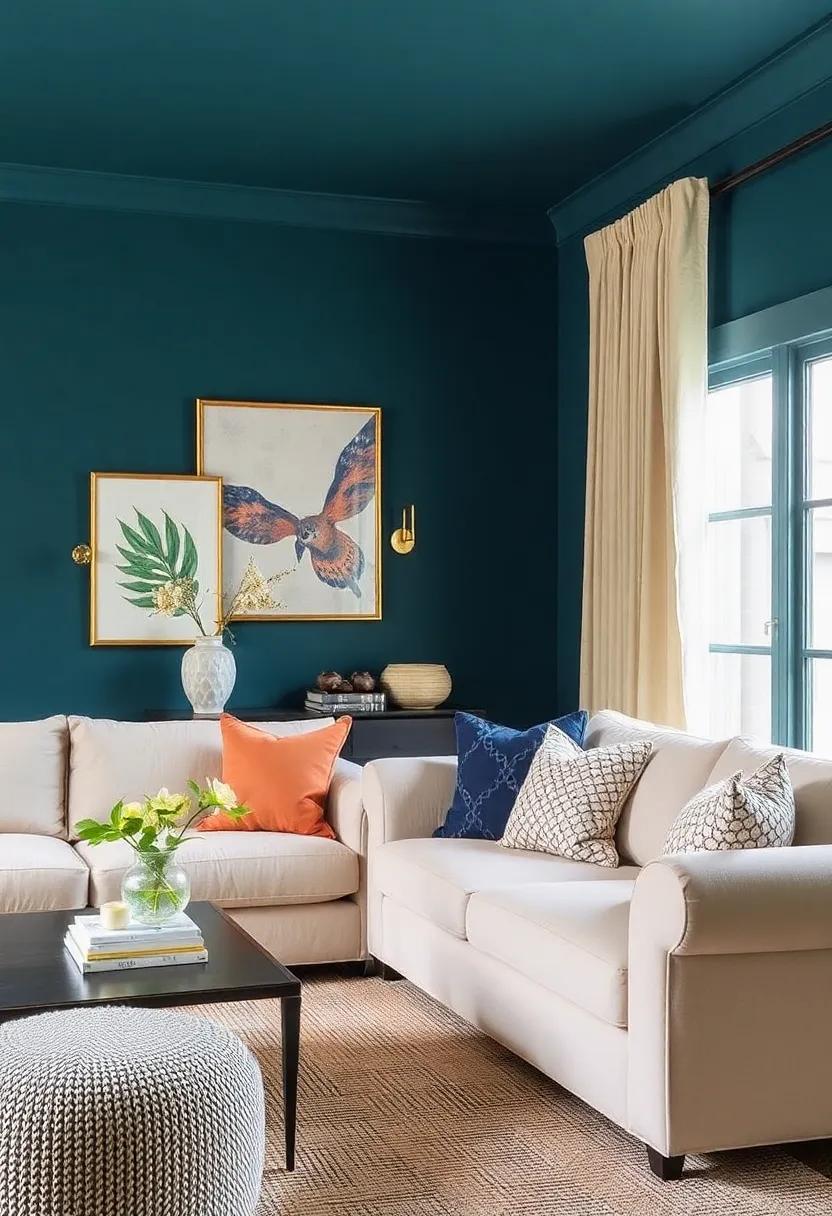
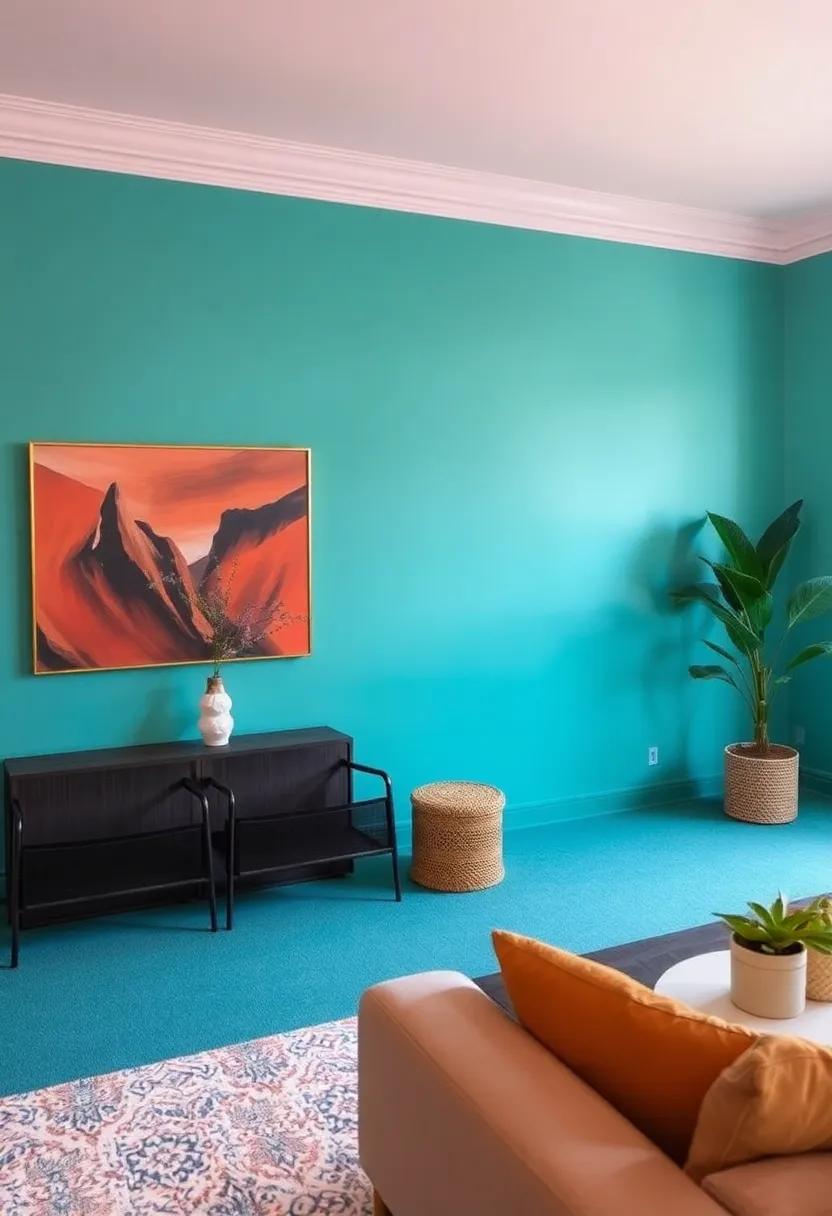
Choosing the Perfect Bold Color for Your Living Room Transformation
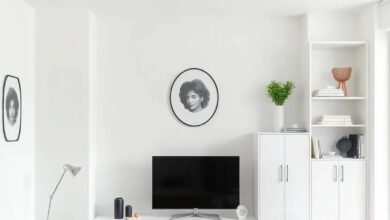
![]()
When transforming your living room with a bold color, it’s essential to consider the mood you want to create and how the color interacts with your existing furnishings. Deep blues, for instance, can evoke a serene atmosphere, while vibrant yellows energize the space. Here are some aspects to evaluate before selecting your hue:
- Lighting: Natural light, as well as artificial lighting, can drastically change how a color appears. Test swatches in different lights before committing.
- Color Psychology: Research the impact of colors on your emotions to align your choice with the desired ambiance.
- Accent Colors: Think about the colors of adjacent rooms or furniture to ensure your bold color enhances the overall aesthetic.
Once you’ve narrowed down your options, it’s wise to visualize how these colors might work in your space. Consider creating a simple color palette with your bold choice alongside complimentary shades to ensure cohesion. Below is a suggested color pairing table for inspiration:
| Bold Color | Complementary Shade |
|---|---|
| Emerald Green | Soft Cream |
| Rich Plum | Light Gray |
| Sunshine Yellow | Navy Blue |
| Cerulean Blue | Warm Beige |
Visualizing Your New Space with Color swatches and Mood Boards
One of the most effective ways to visualize your new living room color is by using color swatches. Start by selecting a few bold shades that resonate with your style and mood. You can make this process more tangible by obtaining sample pots from your local paint store. Apply swatches of each color directly onto your wall or sample boards, and observe how thay change throughout the day in different lighting conditions. This hands-on approach allows you to not only see the color in your space but also to understand how it interacts with furniture, art, and decor.
along with color swatches, create a mood board to bring your vision to life. Gather images, fabric swatches, and decor pieces that reflect your desired aesthetic. tools like Pinterest or physical boards can help you curate a collection that inspires you. When combining elements, consider the following aspects:
- Color Harmony: Ensure the colors you choose complement each other.
- Textures: Incorporate diverse textures to add depth and interest.
- Style Elements: Think about the furniture and accessories you plan to use.
Creating a mood board not only guides you in making cohesive choices but also keeps your vision clear throughout the painting process.
preparing Your Living Room for the Repainting Adventure Ahead
Before diving into your vibrant endeavor, it’s essential to create a clear and organized habitat to ensure a smooth repainting process.Begin by removing all furniture and decor items from the living room. This will not only protect them from paint splatters but also give you a blank canvas to work with. If moving everything isn’t feasible, consider stacking furniture in the center of the room and covering it with drop cloths. Additionally, think of protecting your floors; large pieces of cardboard or additional drop cloths are perfect for this purpose.
Next, focus on prepping your walls to create a flawless surface for the new paint. Start by cleaning the walls to remove any dust or grease that may interfere with paint adhesion. After cleaning, inspect for any imperfections such as holes or cracks; fill these with spackle and sand them down for a smooth finish. tape off baseboards,window frames,and door edges with painter’s tape to achieve crisp lines. This attention to detail will pay off when it comes time to apply the bold color of your choice.
Gathering Essential Tools and Materials for a Flawless Finish
To achieve a stunning and polished look for your living room, gathering the right tools and materials beforehand is crucial. Start with a quality paintbrush and roller kit, as these will help you apply the paint smoothly and evenly. Don’t forget to stock up on painter’s tape to protect edges and surfaces,and a drop cloth to keep your floors free from spills and splatters. Other essentials include a paint tray, ladder (for those hard-to-reach spots), and a sandpaper or sanding sponge to smooth any imperfections on the walls. For added safety, equip yourself with a dust mask and gloves to protect against inhaling fumes and skin irritation.
When it comes to selecting the right paint, choose a high-quality primer to ensure a lasting finish and vibrant color. Depending on the desired texture and look, you may opt for matte, egg-shell, or satin finishes. Consider organizing your materials in a dedicated toolbox or carrier so that everything is easily accessible during the project. Below is a simple table to help you visualize your essential toolkit:
| Item | Purpose |
|---|---|
| Paintbrush | For detailed areas and trim |
| Roller | For covering large wall areas quickly |
| Painter’s Tape | To create sharp paint lines |
| Drop Cloth | To protect floors and furnishings |
| sandpaper | To prepare surfaces for painting |
Understanding Different Paint Finishes and Their Impact

When repainting your living room, it’s important to understand how different paint finishes can dramatically alter the ambiance and functionality of your space. Each finish type has its own unique characteristics and benefits, making it essential to select the right one for your bold, modern color scheme.Here’s a quick overview of common paint finishes you might consider:
- Matte Finish: Offers a smooth, non-reflective surface, perfect for hiding imperfections.
- Satin Finish: Provides a soft sheen that’s durable and easy to clean, ideal for high-traffic areas.
- Eggshell Finish: A happy medium; captures a subtle glow without being overly shiny.
- Gloss Finish: Highly reflective, perfect for making a bold statement but may highlight wall flaws.
Choosing the right finish for your repeat task isn’t just about preference; it’s about understanding how light interacts with color and texture. For example, a high-gloss finish can amplify vibrant hues, creating a striking focal point, whereas a matte finish might soften bold colors and lend a more understated elegance. Consider the specific features of your living room when making your choice, such as:
| Finish Type | Durability | Best Use |
|---|---|---|
| Matte | Low | Ceilings, low-traffic areas |
| Satin | Moderate | Living rooms, children’s areas |
| Eggshell | Moderate | Indoor walls |
| Gloss | High | Trim, furniture, high-impact decor |
Creating a Clear plan for Furniture Arrangement during the Process
To ensure a smooth and organized repainting process, it’s essential to create a thoughtful plan for arranging your furniture. Begin by evaluating the layout of your living room and identifying key pieces. Consider moving large items like couches and bookshelves out of the way or into adjacent rooms to clear a path for easy access to walls being painted. This not only protects your furniture from splatters but also allows you to maneuver freely as you work. Make a checklist of items that need to be moved, considering options for temporary storage, and determine where to place each piece to maximize the space.
Next, make use of protective coverings for your remaining furniture and floor areas. Spread out drop cloths or old sheets to catch any paint drips and prevent damage to your surfaces. Here’s a simple strategy for organizing your working area:
| Item | Location | Protection Method |
|---|---|---|
| Sofa | Adjacent room | Cover with blanket |
| Coffee table | In center,covered | Plastic sheeting |
| Bookshelf | Against wall | Drop cloth |
With everything organized and protected,you can confidently start painting without the stress of damaging your prized possessions. This thoughtful arrangement will not only keep your items safe but will also enhance your efficiency, allowing you to focus entirely on transforming your living space.
Protecting Floors and Furniture with Proper Coverings and Tape
When embarking on your living room repainting adventure, it’s essential to safeguard your floors and furniture from potential mishaps. Start by covering larger furniture pieces with drop cloths or old sheets. This not only protects against splatters but also prevents dust accumulation. For smaller items, consider using plastic wrap for easy removal after the job is done. Ensure any area rugs or decor items are moved out of the workspace, leaving the space clear for your bold new vision.
To further secure your surfaces,use painter’s tape strategically. It’s crucial for creating clean lines and defining your edges. Here’s a simple checklist to help you effectively tape and protect your area:
- Identify edges: windows, door frames, and baseboards.
- Apply tape smoothly: Ensure it’s pressed down firmly to prevent paint bleed.
- Use multiple layers: For areas needing extra protection, such as overlapping surfaces.
for floors, a combination of drop cloths and masking tape will provide a strong shield against any unintended paint spills, ensuring your space remains in pristine condition throughout the project.
Taking the Time to Patch and Repair walls Before Painting Begins
Before diving into the exciting world of bold paint colors, it’s essential to ensure that your walls are in top shape. Taking the time to inspect and repair any imperfections can make a significant difference in the final result. Start by closely examining the walls for cracks, holes, or uneven surfaces. A well-prepped wall enhances color request and creates a smooth, flawless finish. here are some steps to consider:
- Identify Damage: Look for any signs of mold, water stains, or peeling paint.
- fill in Holes: Use spackling paste or joint compound to fill in nail holes and small cracks.
- Sand the Surface: Once the filler has dried, sand the area until it’s smooth and level with the surrounding wall.
- Prime as Necessary: If you’ve done significant repairs, apply a primer to the entire area to ensure even paint coverage.
After addressing any wall damage, it’s crucial to create a clean and uniform surface for painting. consider using a high-quality primer on the entire wall, especially if you are switching from a lighter to a darker color. This not only aids in achieving better adhesion but also improves the overall vibrancy of the new paint. Here’s how you can prepare your walls effectively:
| Preparation Step | Details |
|---|---|
| Wash the Walls | Remove dust, dirt, and grease with a mild detergent solution. |
| Inspect for Moisture | Ensure there are no damp patches; treat any moisture issues before proceeding. |
| Remove Old Paint | If necessary,strip old paint that may affect the new finish. |
Mastering the Art of Priming for vibrant Color Application
When you’re ready to transform your living room with a bold new color, the key to a flawless finish lies in the priming process. Properly primed surfaces ensure that the vibrant shades glide on smoothly, reducing the number of coats required and enhancing color richness. Begin by assessing the existing wall surface and choosing the right primer, ideally a high-quality, stain-blocking primer for rooms that may have stains or imperfections. Make sure to use the following essentials for effective priming:
- Clean Your Walls: remove dust, dirt, and grease.
- Repair Imperfections: Fill any holes with spackle and sand the area smooth.
- Choose the Right Primer: Opt for a water-based primer for lighter colors and an oil-based one for deeper shades.
- Use a Good Brush/Roller: Invest in quality tools for an even application.
as you apply the primer, consider using a roller for expansive areas and a brush for corners and edges to ensure even coverage. Allow the primer to dry fully according to the manufacturer’s instructions—usually around one to two hours—before applying your chosen paint.This not only helps the paint adhere better but also brings out the vibrancy in your selected bold shade. Below is a quick comparison of primer types to help you select the best option:
| Primer Type | Best For | Drying Time |
|---|---|---|
| Water-based | Non-stained walls, light colors | 1-2 hours |
| Oil-based | Stained surfaces, deep colors | 6-8 hours |
Applying the First Coat of Paint with Confidence and Technique
With your preparation complete, it’s time to unleash your creativity by applying the first coat of paint. Begin by shaking or stirring your paint thoroughly, ensuring an even color throughout. As you dip your brush into the paint, tap off any excess to avoid drips and uneven coverage. To achieve a consistently smooth finish,employ the W technique for your brush strokes: start at the top and create a ‘W’,then fill in the blank spaces without lifting the brush. This method helps in avoiding streaks and promotes an even texture. Always maintain a wet edge as you move to avoid lap marks, and work from one side of the wall to the other to keep the flow consistent.
Use a high-quality roller for larger areas, as it can cover more surface with less effort. when rolling, hold the roller upright and apply pressure evenly, paying close attention to corners and edges. It is wise to keep a small brush nearby for touch-ups and to reach those tricky spots. If you feel the need for a second coat, wait until the first layer is completely dry, which typically takes about 4-6 hours.Here’s a quick reference table for timing and drying expectations:
| Paint Type | Drying Time (to touch) | Recoat Time |
|---|---|---|
| Latex | 1 hour | 4-6 hours |
| Oil-based | 6-8 hours | 24 hours |
| Chalk Paint | 1-2 hours | 2-4 hours |
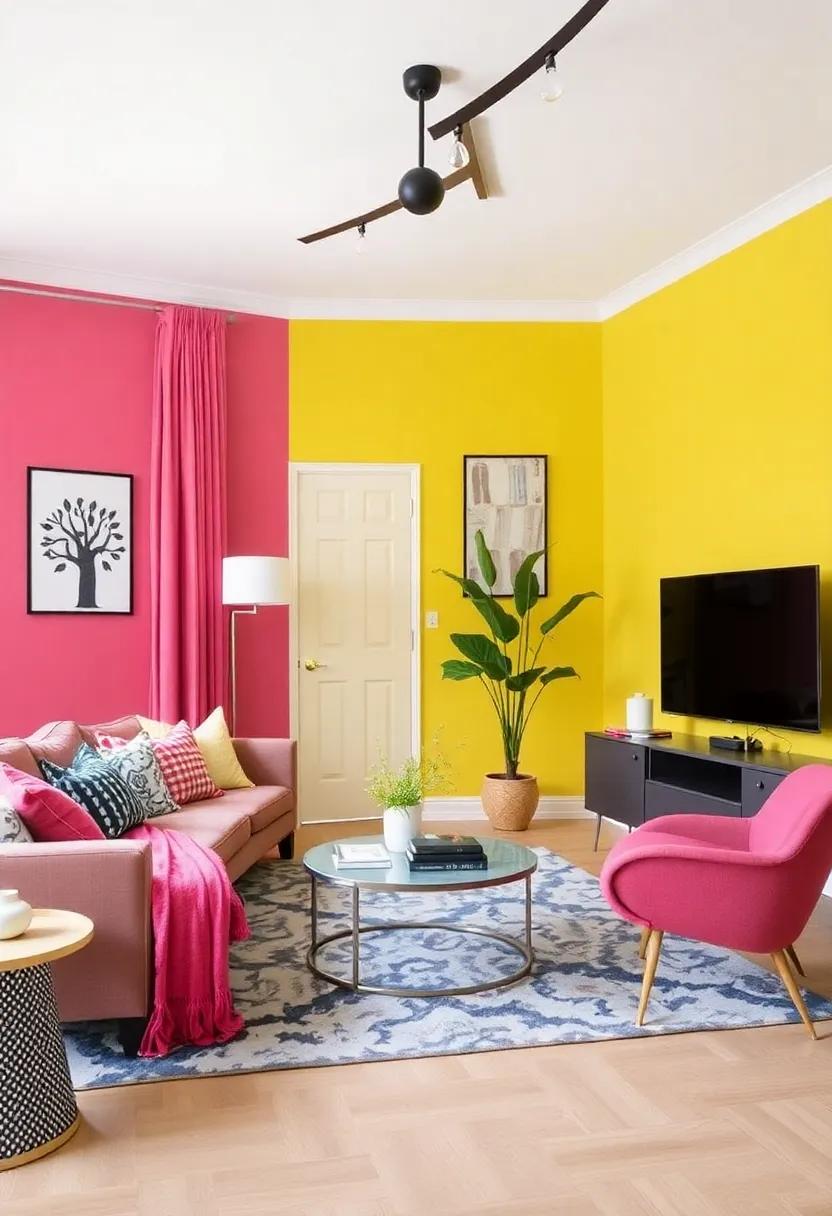
Exploring Techniques for creating Accent Walls that stand Out
- Bold Paint Colors: Choose a vibrant shade that contrasts with the rest of the room.
- Textured Finishes: Experiment with techniques like sponge painting or rag rolling for added depth.
- Wallpaper or decals: Opt for a striking patterned wallpaper or removable decals for flexibility.
- Paneling or wood accents: Introduce dimensionality with wood planks or modern paneling.
For a cohesive look, consider the overall color scheme and furniture in your space.pair your accent wall with accessories that complement its hues. Here’s a simple table to guide you in selecting colors based on the mood you want to create:
| Mood | Color |
|---|---|
| Calming | Soft blues and greens |
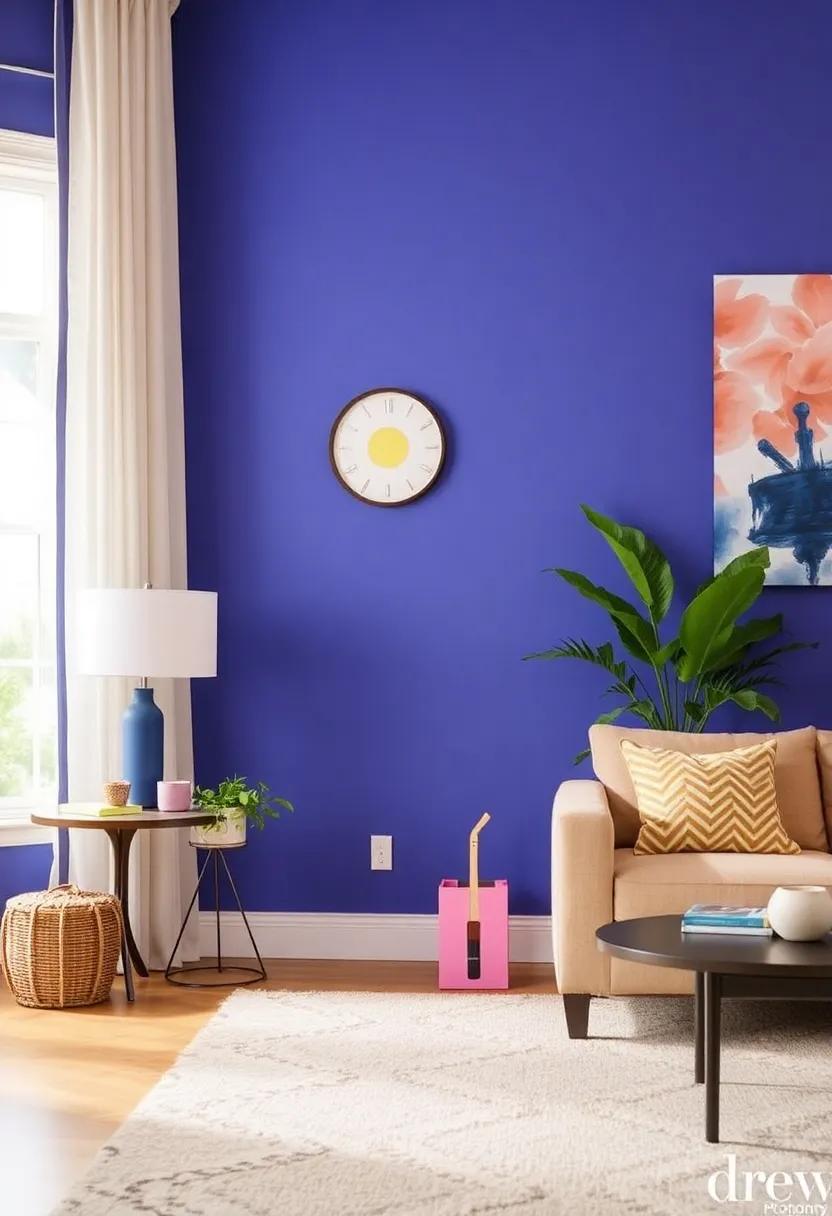
| Energizing | Radiant yellows and oranges |
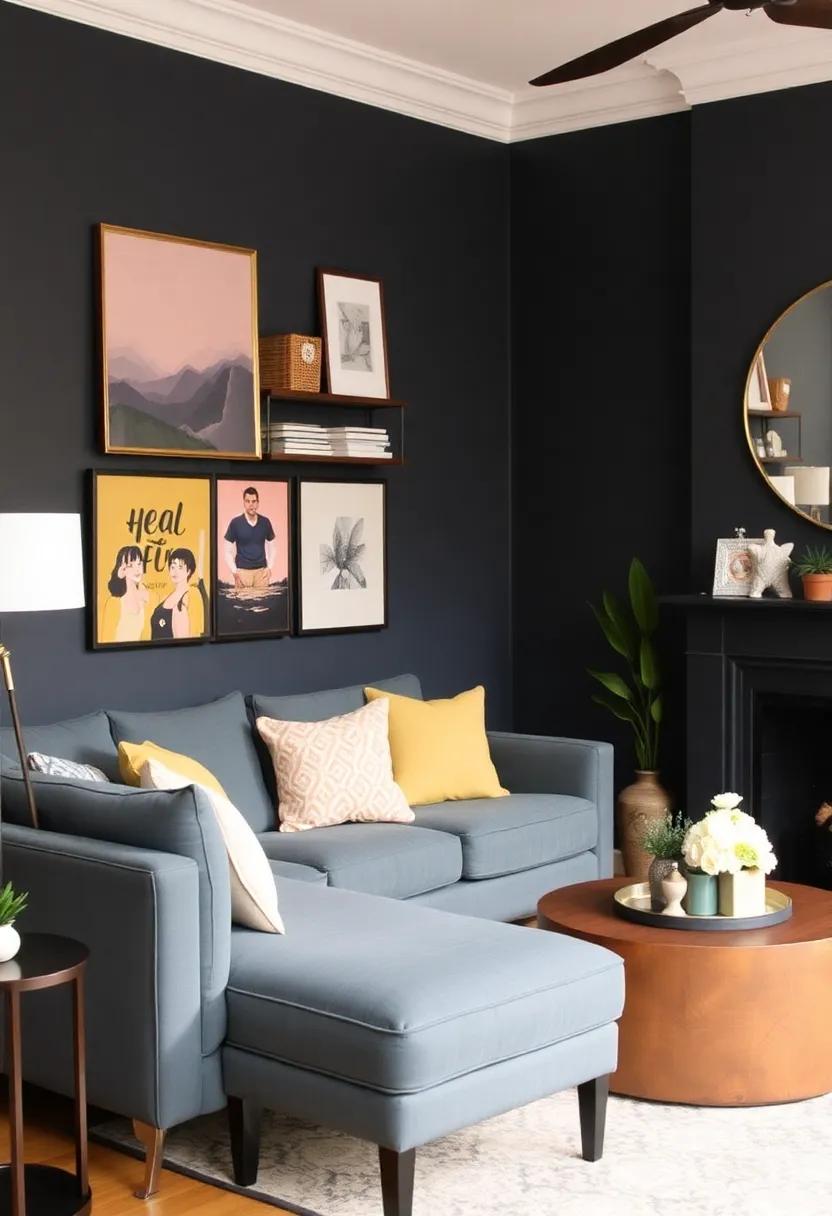
| Sophisticated | Deep grays and navy |
| Warmth | Rich reds and browns |
Achieving Smooth Edges and Corners for a Professional Look

To achieve that crisp, professional finish when repainting your living room, it’s essential to focus on creating smooth edges and corners. Start by using painter’s tape, which acts as a barrier against unwanted paint bleeding. Apply the tape carefully along the edges of the areas you want to protect, pressing it down firmly to ensure no paint seeps underneath. For the best results, let the tape sit for a few hours before painting. When you’re ready, use a quality paintbrush to cut in around the edges and corners first, following these tips:
- Use a 1- or 2-inch angled brush: This allows better control for precise lines.
- Apply thin layers: This prevents drips and helps maintain smoother edges.
- Feather the edges: Lightly blend the paint into the area just beyond the tape for an even finish.
Once the edges have been painted, it’s time to fill in the larger areas of your walls. For this, choose a high-quality roller that complements the texture of your wall surface. Always roll in a consistent direction and overlap your strokes to avoid patchiness. To ensure everything looks seamless, gently remove the painter’s tape while the paint is still slightly wet, which will help prevent peeling. If you’re concerned about any imperfections,a quick touch-up with your brush can help blend any rough spots. Here’s a simple chart to visualize the steps:
| Step | Action |
|---|---|
| 1 | Apply painter’s tape along edges |
| 2 | Cut in with angled brush |
| 3 | Roll larger areas with a roller |
| 4 | Remove tape while wet |
| 5 | Touch up as needed |
Finding the Right Light Fixtures to Complement Your Bold Palette
Choosing light fixtures that harmonize with your vibrant color choices can elevate your living room’s aesthetic. Start by considering the style and finish of the fixtures. Sleek metals like brass or matte black can create a striking contrast against bold hues, while softer finishes like brushed nickel can provide a more subdued balance. When selecting the design, think about the overall theme: are you going for a modern minimalism or a vintage flair?
- Chandeliers: Perfect for corner statements or dining areas.
- Pendant Lights: Great for focused areas like over a coffee table.
- Sconces: Ideal for wall-mounted illumination that adds a cozy ambiance.
- Floor Lamps: Versatile and mobile, perfect for reading nooks.
Once you know your styles, think practically about the lighting effects. Warm lighting can soften bold colors, enhancing their welcoming aspect, while cooler lights can make vibrant shades pop, creating a more energetic atmosphere. Use a mix of light sources to achieve depth and dimension. A combination of ambient, task, and accent lighting can definately help to highlight particular areas of your room, bringing out the beauty of your newly painted walls.
| Fixture Type | Height | Best Use |
|---|---|---|
| Chandelier | 30-36 inches | Dining area or entryway |
| Pendant light | 20-30 inches | Over tables or kitchen islands |
| Wall Sconce | 60-72 inches | Hallways or alongside mirrors |
| Floor Lamp | 55-65 inches | Living spaces or corners |
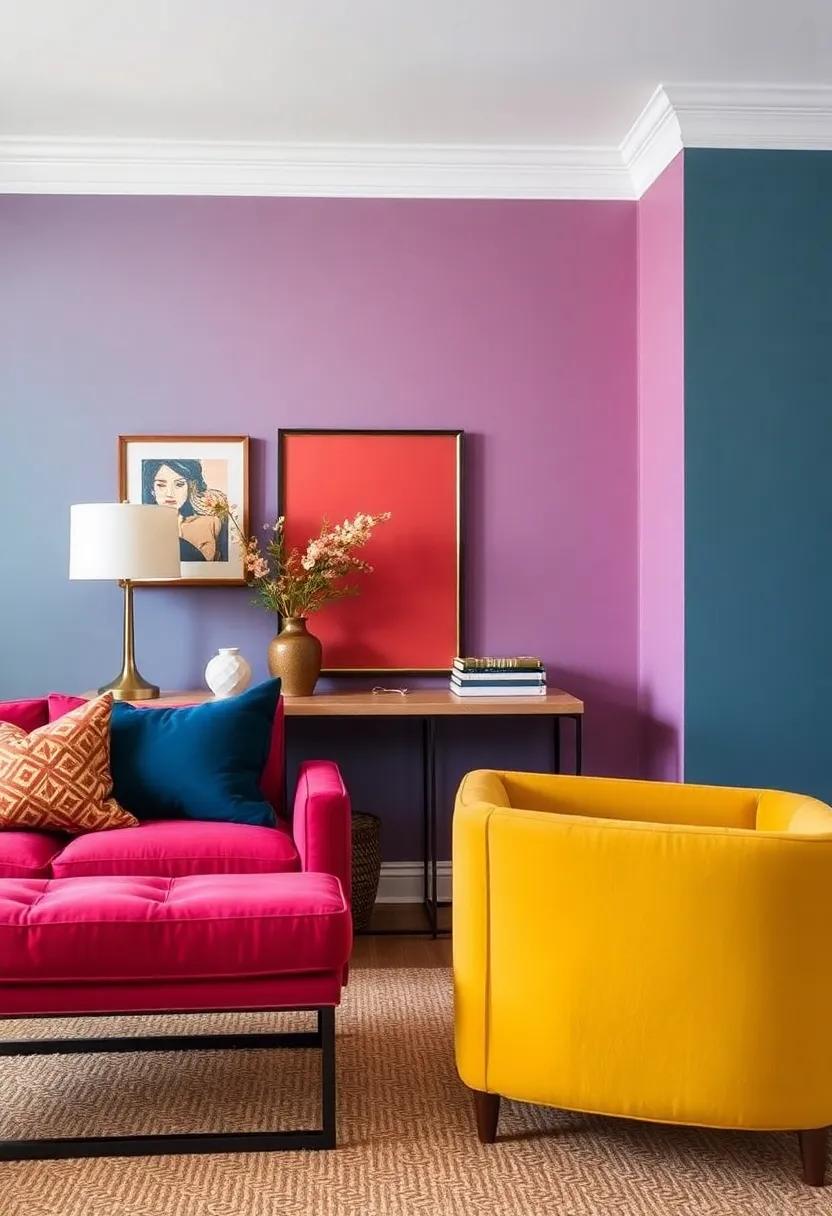
Adding Decorative Elements to Enhance the New Color Scheme
To truly make a statement with your new color scheme,consider incorporating decorative elements that complement and elevate the vibrancy of your chosen hue. Textiles play a significant role in adding depth and texture, so think about vibrant throw pillows, a cozy area rug, or layered curtains that echo your bold palette.You can also explore materials like metallic accents through stylish lamp fixtures or decorative mirrors that catch the light and enhance the ambiance. Larger pieces, such as an eye-catching art piece or a gallery wall, can serve as focal points that draw the eye and celebrate the new color theme.
Another essential aspect of enhancing your living space lies in the choice of accessories. Consider the following elements to further enrich your decor:
- Plants: Incorporate greenery for a lively contrast and natural texture.
- Wall Décor: Utilize bold frames or unique sculptures to add dimension.
- Lighting: statement chandeliers or modern pendant lights can set the tone.
Pairing these decorative components thoughtfully with your updated color scheme not only reinforces your design choice but also creates a cohesive environment where style meets comfort.
selecting the Best Fabrics and Textures to Complement Your Walls
Once you’ve settled on your bold, modern color for the walls, the next step is to select fabrics and textures that will enhance the overall look of your living room. Fabrics play a crucial role in creating a cohesive atmosphere, so consider the following options:
- Velvet: Luxurious and soft, velvet adds depth and richness that pairs beautifully with vibrant wall shades.
- Linen: A lightweight and breathable option, linen brings a casual elegance and natural texture.
- Chenille: This cozy fabric delivers warmth and inviting texture, making it perfect for cushions and throws.
- Canvas: Durable and versatile, canvas works wonders for upholstery and curtains, especially in a bold print.
Consider the visual impact of layering these fabrics within your space. To assist in your decision-making, here’s a comparison of some common fabrics and their characteristics:
| Fabric | Texture | Best Use |
|---|---|---|
| Velvet | Soft and plush | Sofas and statement cushions |
| Linen | Natural and airy | Curtains and light upholstery |
| Chenille | Textured and fuzzy | Throws and accent pillows |
| Canvas | Sturdy and smooth | Furniture and structured decor |
Don’t overlook the importance of texture! Mixing and matching fabrics with varied textures can add visual interest and comfort to your living space, ensuring that your bold color choice is beautifully complemented and that the room feels inviting and well-rounded.
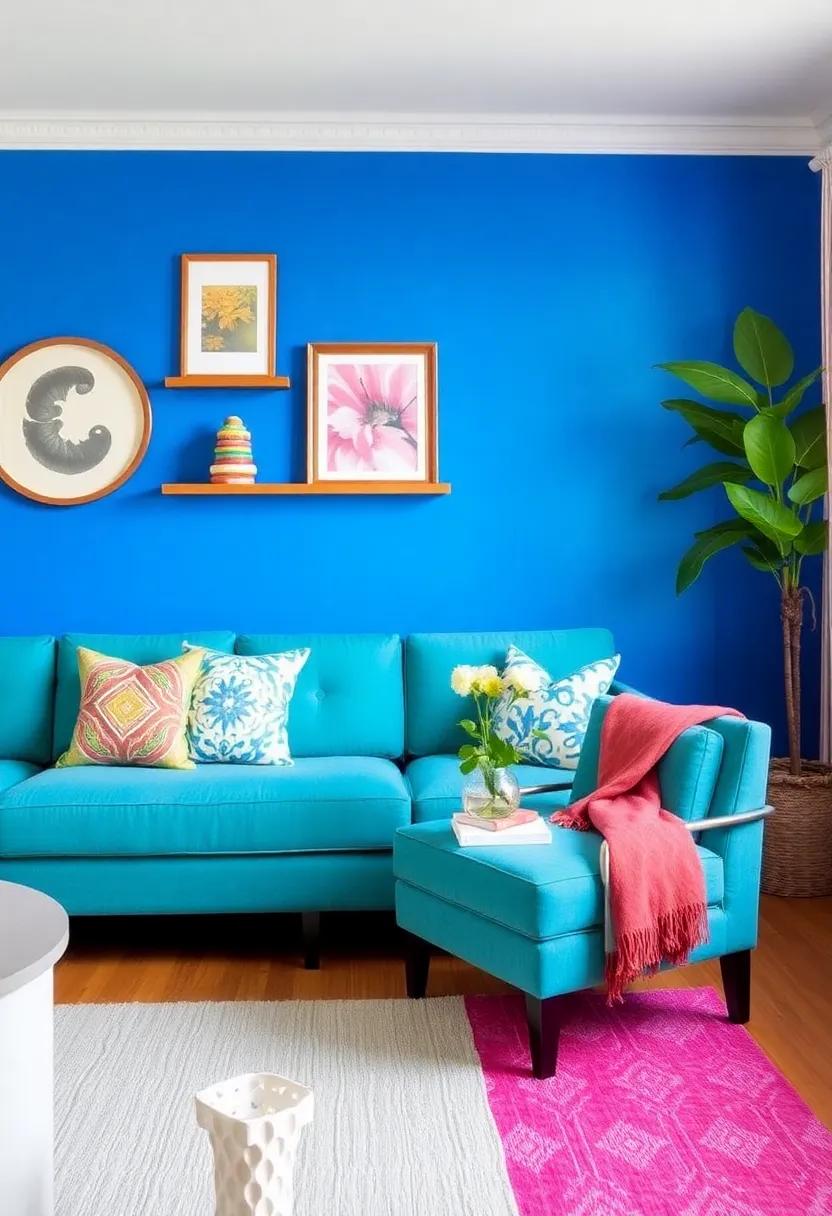
Incorporating Artwork and Accessories that Harmonize with Your Theme
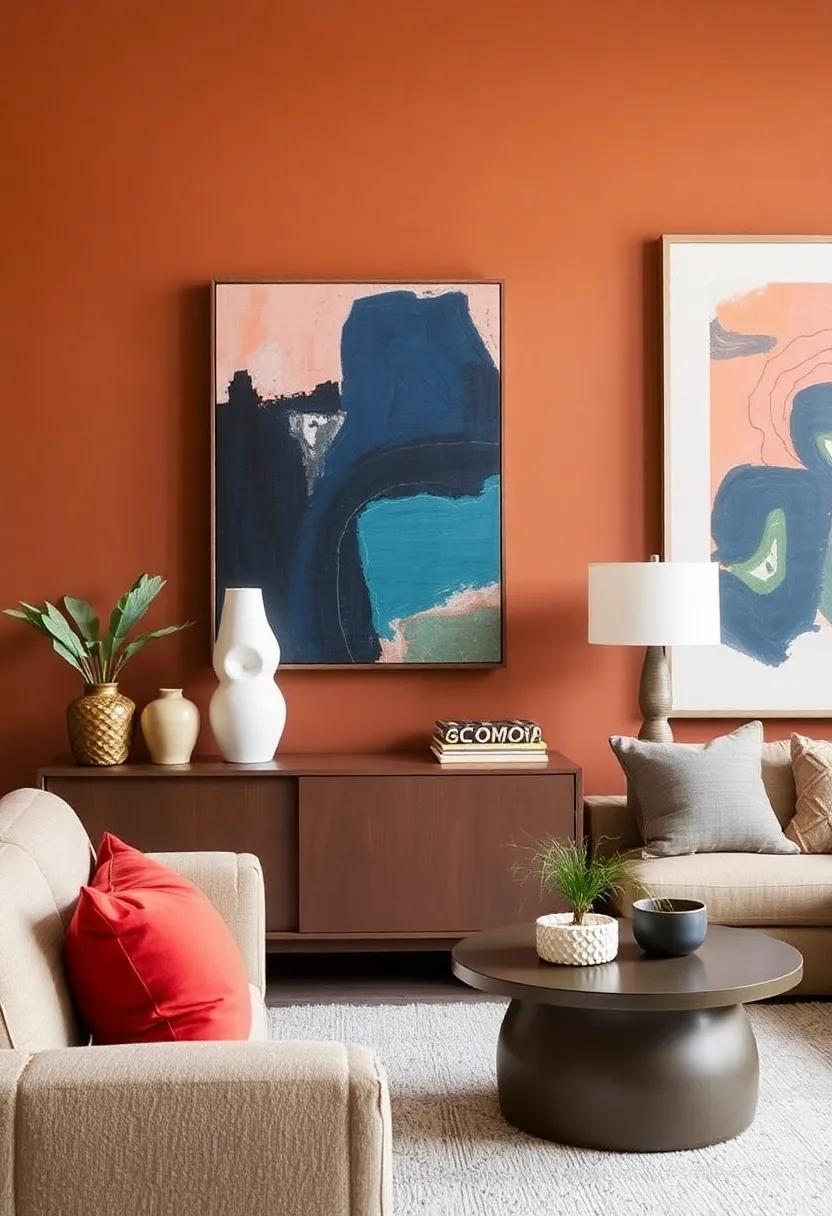
Once you’ve chosen a bold, modern color for your living room, selecting artwork and accessories that complement your new palette is crucial for tying the space together. Focus on pieces that resonate not only with the color scheme but also with the overall theme you aim for. Consider including:
- Abstract paintings that use accent colors from your walls to create visual interest.
- Textured textiles such as cushions or throws in vibrant or subtle hues that echo your chosen color.
- Modern sculptures that add depth and dimension, promoting a contemporary vibe.
- Wall decor like framed prints or mirrors that reflect your unique style while enhancing natural light.
When incorporating these elements, balance is essential to avoid overwhelming the space. Pair a striking piece of artwork with neutral accessories to allow it to stand out without competing for attention. Here’s a simple table to help you envision how different accessories can harmonize with your primary color:
| Accessory Type | Color Options | Style Suggestions |
|---|---|---|
| Art Prints | Complementary Colors | Framed or Canvas |
| Cushions | Textures & Patterns | Pillows with Geometric Designs |
| Rugs | Neutral Shades | Large Area Rugs |
| Lighting | Metallic accents | Sleek Floor or Table Lamps |
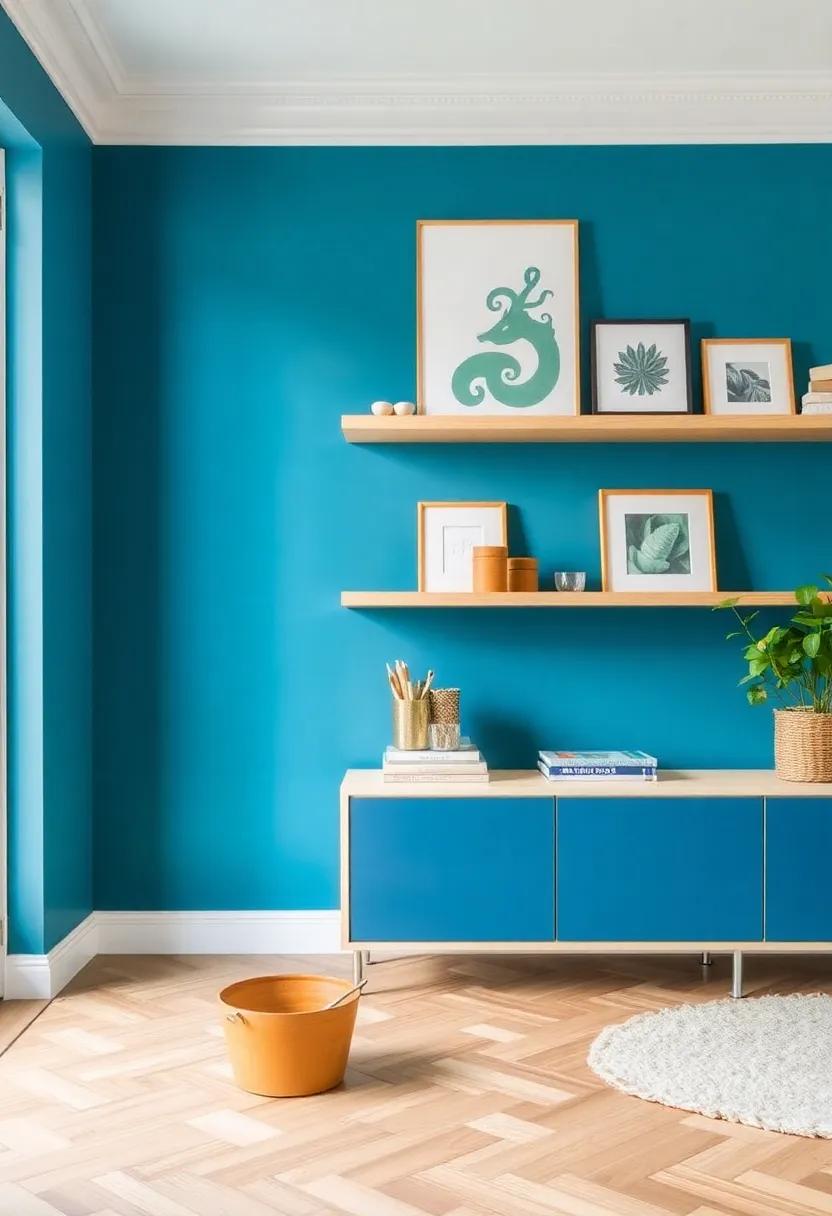
Final Touches: Ensuring Your living Room Feels Cohesive and inviting

To tie your bold color choice into the overall design of your living room, consider incorporating complimentary elements that enhance the vibrant backdrop. Think about the following items to create an inviting atmosphere:
- Textiles: Use cushions, throws, and area rugs that incorporate the same color family or contrasting hues.
- artwork: Select wall art that speaks to the color palette. Choose frames that match or contrast harmoniously with the paint.
- Furniture: Arrange your furniture to create conversation areas, ensuring that pieces are not only functional but aesthetically balanced.
Additionally, lighting plays a crucial role in how your new color choice is perceived. Evaluate your current lighting and consider these enhancements:
- Layered Lighting: Mix ambient, task, and accent lighting to create a warm glow that flatters your bold walls.
- Smart Bulbs: Install adjustable light bulbs to change the mood throughout the day.
- Natural Light: Keep windows unobstructed to allow natural light to flow in, softening the intensity of your chosen color.
Assessing Your Space Post-Paint for Inspirational Decor Ideas
Once the fresh coat of paint has dried, it’s time to take a step back and truly assess your newly transformed living space. Consider how the bold color interacts with light throughout the day and how it sets the tone for the room. Think about the existing furniture and decor elements you have on display—do they complement or clash with your new walls? Utilize the following ideas to infuse inspiration into your decor:
- Add statement artwork: Choose pieces that draw attention and resonate with the new color palette.
- Introduce contrasting accents: Incorporate textiles in bold shades or various textures that pop against your walls.
- Explore layering: Use rugs and throws to add depth, ensuring your living area feels cozy and inviting.
- Utilize mirrors: Place mirrors strategically to reflect light and enhance the bold color, creating a vibrant atmosphere.
- Incorporate greenery: Bring in plants to add an organic touch that livens up the space and offsets intense hues.
to help visualize your decor options, consider using a simple table to outline color pairings and decor choices:
| Wall Color | Complementary Accent Color | Recommended Decor Elements |
|---|---|---|
| charcoal Grey | Mustard Yellow | Cushions, Art Prints |
| Ocean Blue | Coral | Rugs, Throws |
| Tangerine | Teal | Vases, Wall Art |
| Deep Burgundy | Soft Pink | Curtains, Candles |
Celebrating Your New Living Room Look with a Fun Reveal
Once the last brushstroke has dried and the room is transformed with your chosen vibrant hue, it’s time to unveil the stunning new aesthetic you’ve created. Gather your family or friends for a mini-reveal party, where you can share in the excitement of your newly revamped space. Set the mood with some music, and make it a memorable moment by doing a dramatic reveal, perhaps with a fun countdown. As you open the door, let the unexpected brightness of your bold living room color shine through and watch as everyone’s reactions turn to delight.
To enhance the celebratory atmosphere, consider incorporating some simple decor to complement your new look. Here are a few ideas to add flair to your reveal:
- Fresh Flowers: Bright bouquets can add life and color.
- Cozy Textiles: Bright throw blankets and pillows can highlight your new walls.
- Art Features: Hang art that contrasts beautifully with your paint color for a striking effect.
| Decor Element | Color Suggestions |
|---|---|
| Rugs | Light Gray or Navy |
| Curtains | white or Cream |
| Artwork | Contrasting Colors (like yellow or turquoise) |
Inviting Friends Over to Showcase Your Bold New Style
Once your living room transformation is complete, it’s time to share your new space with friends! Hosting a small gathering not only showcases your bold decision to step outside the norm, but it also fills your home with laughter and conversation. Consider planning a themed evening that complements your newly repainted room. Here are some ideas to ignite your creativity:
- color-Coordinated Snacks: Serve treats that match your new wall color.
- Signature Drinks: Create a cocktail inspired by the color palette of your room.
- Interactive Activities: Set up a DIY painting station for your friends to unleash their own creativity.
Don’t forget to set the atmosphere! Use lighting to highlight your bold choice; soft lamps or string lights can create an inviting glow that complements the vibrant walls. To engage your guests further,consider sharing the story behind your color selection or the painting process. Here’s a quick table to help you organize your evening’s flow:
| Time | Activity |
|---|---|
| 6:00 PM | Welcome Drinks & Appetizers |
| 7:00 PM | Interactive Painting Session |
| 8:00 PM | Dinner & Conversation |
| 9:30 PM | Dessert & Reflection on the Space |
reflecting on Your Transformation Journey and Next Steps
As you stand back and admire the vibrant hue that now adorns your living room walls, you may find yourself reflecting on the journey that brought you to this moment.The process of repainting isn’t merely about selecting a color; it’s an opportunity to redefine your space and express your personal style. Consider the following insights as you think about your transformation:
- Embrace Change: Recognizing how the new color alters the atmosphere can be invigorating. Each brushstroke contributed to an environment that feels distinctively yours.
- Celebrate Progress: Acknowledge the effort you invested—planning, prepping surfaces, and meticulous painting. These steps are vital in crafting your ideal sanctuary.
Looking ahead, the next steps in your transformation journey can revolve around harmonizing your newly painted walls with the rest of your decor. This is an opportunity to curate a cohesive look that reflects contemporary design. Consider how your furnishings, accents, and even art can complement your bold choice. Keep these tasks in mind:
| Task | Description |
|---|---|
| Accessorize Thoughtfully | Choose decor items that resonate with the mood of your new color. |
| Lighting Appropriately | Update light fixtures to enhance the richness of your chosen hue. |
| Experiment with Textures | Add pillows, rugs, or throws to create depth and interest. |
The Way Forward
As you stand back and admire your freshly painted living room, it’s easy to appreciate the transformation that a splash of bold color can bring to your space. By following this step-by-step guide, you’ve not only revitalized your walls but also created an environment that reflects your unique personality and style. Remember, reimagining your living area doesn’t have to be a daunting task; it’s an opportunity for creativity and expression. So, whether you chose a vibrant teal, a striking mustard yellow, or a deep navy blue, let your living room serve as a canvas for your boldness. Embrace the change, and enjoy the new atmosphere you’ve brought to life. Here’s to many joyful moments in your newly transformed space!
As an Amazon Associate I earn from qualifying purchases.